 Back in an April 2015 article, I recommended planting seeds directly in the ground for an inexpensive and easy way to include some wonderful flowering plants and shrubs in your borders. But, as my friend Mary out in Suffolk County has commented, some of the seeds never sprouted to grow into plants, so she wanted to know, “What’s the story?”
Most seeds really can just be sown directly into the warm soil in the spring. As mentioned in prior articles, they may take a little more time to get started, but they will do fine by the middle of the season. However, knowing what is inside a seed may help you understand the process.
 To begin, a seed is an embryo of the future plant, i.e. all the potential parts of a miniature plant which include a root, a stem, a bud and leaves all wrapped up in a coat or the seed shell. The seeds have an internal timetable or clock that will be triggered when the conditions are right for that plant. Some seed coatings are thin and some are very hard and thick, but they will open when their requirements are met. In order to speed this process along, gardeners have found ways to encourage seed sprouting and plant development.
Even when you read the seed package instruction, you may disregard any terms or instructions that you are not familiar with therefore we need to understand three important terms: scarification, soaking and cold stratification. Scarification simply means scaring or chipping the seed to remove a small sliver from the end of the seed. Cold stratification means seeds must be kept in cold conditions, usually damp, for a period of time in order for the seed to germinate. There are also some seeds that require they be soaked in hot or warm water for 24 hours in order to germinate.
Last year I decided to try the scarification and cold stratification methods, which were more effort than I usually employ to start my seeds but there was a small native shrub that I wanted to grow that was not available in the stores. The seeds of the New Jersey Tea plant needed both methods to germinate. I ordered the seeds and began a process of preparing my seeds for the spring. I scarified the seeds with a small knife but a small cheese grater or nail clipper would do; then I placed them in a plastic bag on which I had written the plant name and date. After I added fine-grained, store-purchased, garden sand, which had already been dampened, I then placed the bag in my refrigerator. The catalog had indicated 70 days of cold stratification was needed for these seeds so I forgot about them for more than two months. When I was ready to start my spring gardening I checked the bag and behold, the small seeds had tiny roots emerging from them.
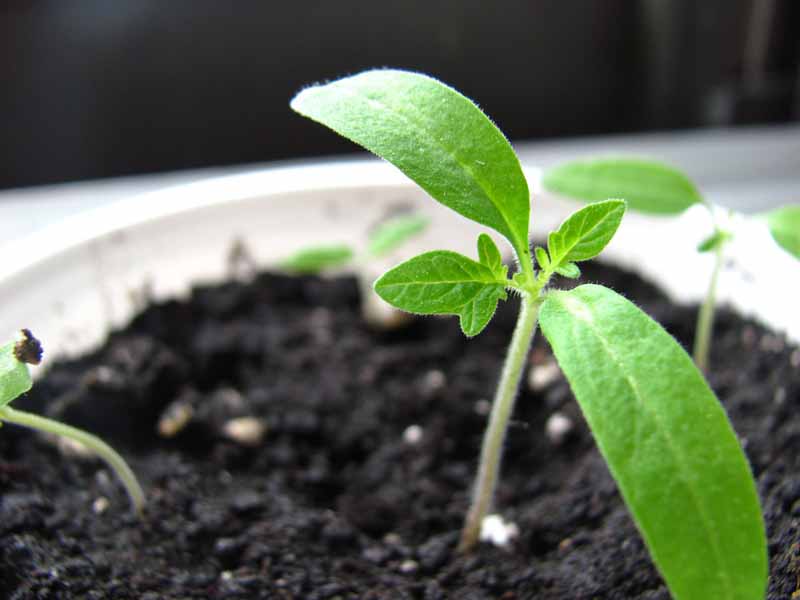
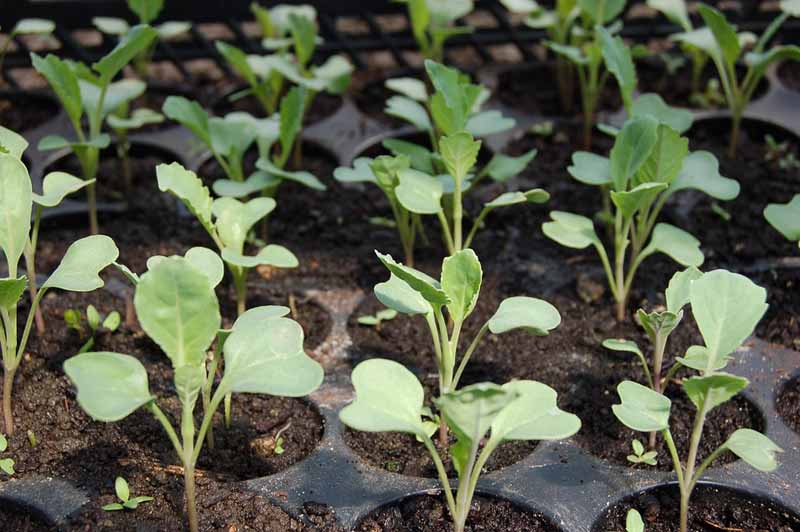
A successful venture, but not yet complete as I had to place these tiny sprouted seeds in the appropriate soil mixture and then into a partly sunny border. I watched as the first leaves and then the second set of true leaves appeared. This spring I will look to see if these tiny plants have survived our incredible winter extremes. I hope so, but if they haven’t, I know that I will no longer be intimidated by this method of creating plants from seed.
Enjoy planning your spring blooming garden.
Josephine Borut is currently on the Board of Directors of the Long Island Horticultural Society. The Long Island Horticultural Society meets on Sunday afternoon in the Conference Center at Planting Fields Arboretum in Oyster Bay. The next meeting is March 25 at 1 p.m. with a tutorial given by Stella Miller who will discuss Iris in the Garden. Our main speaker is Vincent Simeone, director of Horticulture at Planting Fields Arboretum. His topic will be Gold Medal Plants.
For more information, go to www.lihort.org.


