Is there something keeping you from achieving the tan you want this summer? Perhaps it’s the pesky rainy weather, or too much time in the office and not enough time outside. If you nodded your head to the above—then read on.
Sunless tanning with a self-tanning product is the best way to achieve a bronzed complexion without worrying about damaging your skin. You don’t have to spend an arm and a leg for an airbrushed quality tan or run the risk of sunburn by visiting a tanning bed.
Here are some tips for achieving a professional looking tan from the comfort of your home.
1. Pick Your Product
The first step in making sure you achieve the best self-tan is to find the product that works best for you. Here are two self-tanning products that are sure to work well without ruining your bed sheets.
 St. Tropez Self Tan Classic Bronzing Mousse
A mousse is an easy and mistake-proof type of product. It’s streak-free, easy to apply, quick-drying, non-sticky with no transfer and ultra-hydrating.
$32, sephora.com

Isle of Paradise Self-Tanning Water
A self-tanning water with color-correcting actives and either a peach (light), green (medium), or violet (dark) base for a natural-looking, bronzed glow with no streaks, smells or orange tones. Simply spray this tanning water on, rub it in and you’re ready to go. Let your tan develop over a few hours for maximum results.
$28, sephora.com
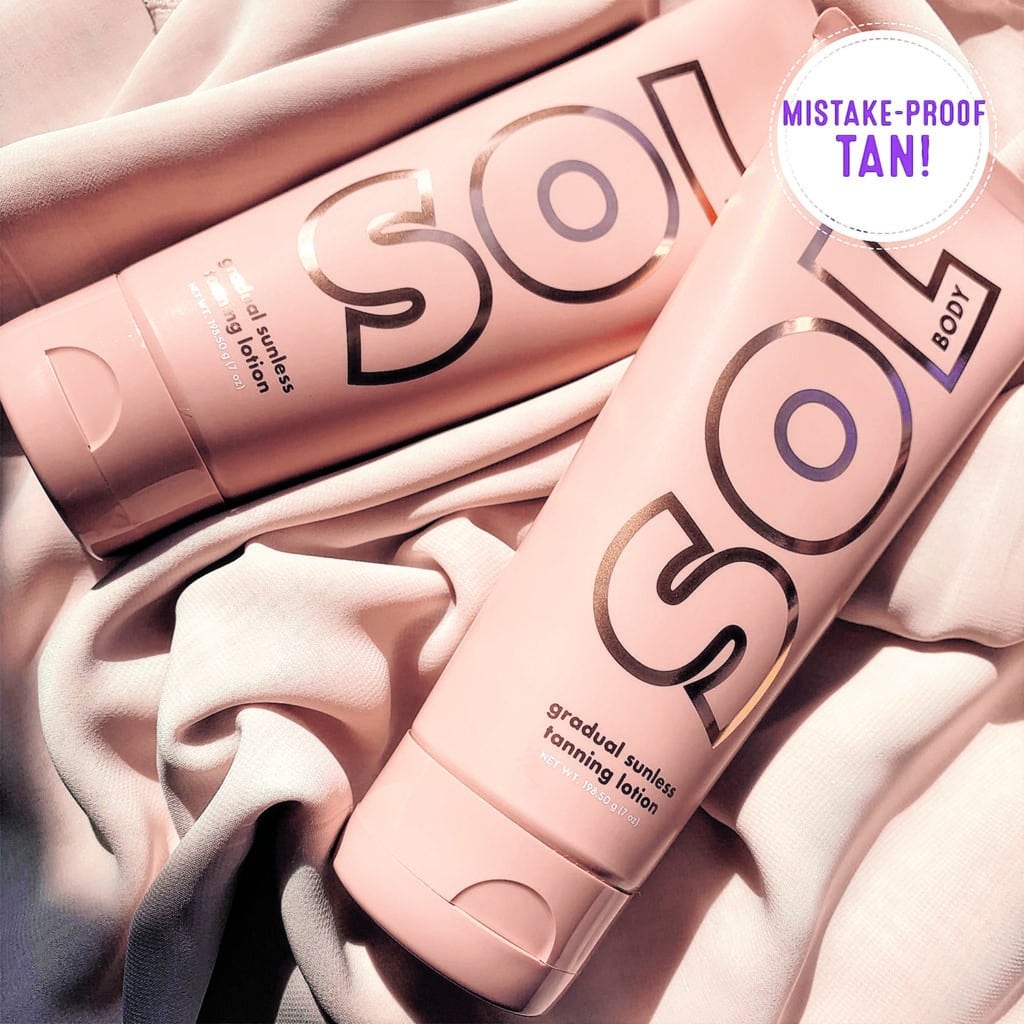
 SOL Sunless Gradual Tanning Body Lotion
This tanning lotion can be built up over a number of days. SOL Sunless Gradual Tanning Body Lotion softens and replenishes skin with richly nourishing Coconut, Argan and Marula Oils while leaving your body with a natural-looking tan. Use both daily for the easiest tan you will ever get.
$16, colourpop.com
 2. Prep Your Skin
The most important step in making sure your self-tan comes out even is to prep your skin. Make sure to exfoliate, wax or shave any areas of the body you will be applying the tanner to beforehand. Drunk Elephant’s Sugar Koffie Almond Milk Body Scrub is a great moisturizing body scrub. The fine sugar granules will help to buff away any dry spots and sweep away any dead skin cells, making your skin ready for application. $28, drunkelephant.com
 3. Moisturize
If you’re coming straight from the shower—it’s always good practice to make sure you’re 100 percent dry before applying any product. Be sure to moisturize any areas of your body that might be a bit dry. Place a small amount of lotion around areas such as your elbows, knees or feet to keep them from turning orange. First Aid Beauty’s Ultra Repair Cream will rescue any areas of your body that may be dry. $36, firstaidbeauty.com
 4. The Face
Applying a self-tanning product to your face can be a bit tricky. Start with your face first. Apply the product to your entire face with your bare hands (make sure to wash them immediately afterwards to prevent staining). If it’s your first time tanning your face, try purchasing the Isle of Paradise Tanning Drops. This product allows you to customize the amount of color you are applying. The more drops, the more tan you will be. $29, theisleofparadise.com
 5. Work Your Way Up
Start at your feet and gradually work your way up. Use a tanning mitt for a precise application. Apply liberally to your arms, legs, stomach and everywhere else you are looking to tan. Make sure to use any excess product on your feet and hands so these areas don’t end up looking orange or streaky. The St. Tropez Double Sided Luxe Tan applicator mitt will help to ensure a streak-free finish and stain-free hands every time.
$7.95, sephora.com
6. Let The Product Sit
Make sure to avoid the pool, beach, excess sweating or showering for at least six to eight hours after application. This will ensure your tan stays in place and doesn’t become streaky.
7. Fixing Mistakes
After your tan has fully developed and you have taken a shower, make sure there are no streaky spots, or places where the tan looks uneven. If there are, no worries—simply exfoliate or buff the area with a dry towel to remove any excess product.


